has the facebook


Love to learn
How to create
waterproof calendar
Follow our step by step guide
In this project you’ll learn how to create your own fun erasable calendar using watercolour paints and window markers.
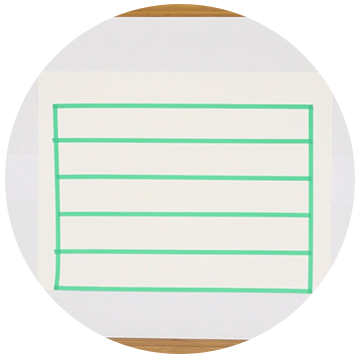
Step 1: Line it up
To create the base for your calendar, take your poster board and mark out a 15”x 24” square using washi tape. Then, using a ruler, mark the tape every 3 inches around all sides. Use the washi tape to create mini squares across the surface by lining up strips of washi tape across the board, connecting at each 3-inch mark.
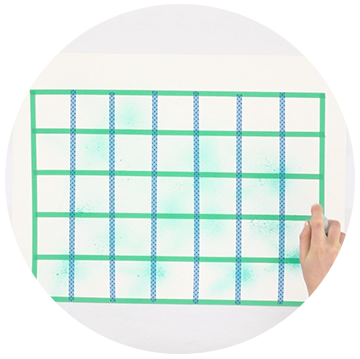
Step 2: Get colourful
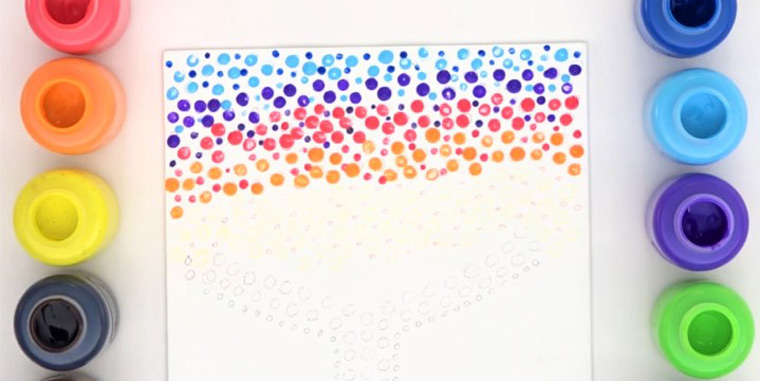
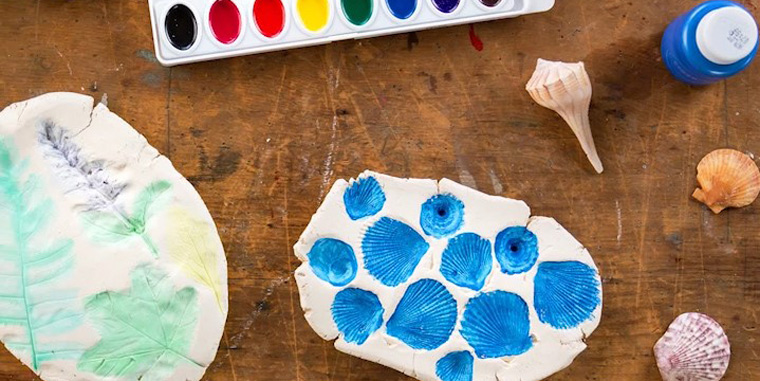
Select your colours from the watercolour tin, remove them and break in half. Place into the spray bottle then fill with warm water using the funnel and replace the spray lid. Shake well. Spray the surface of your poster board with the watercolour mix. Make as many colour combinations as you like, and spray until the board is fully covered.
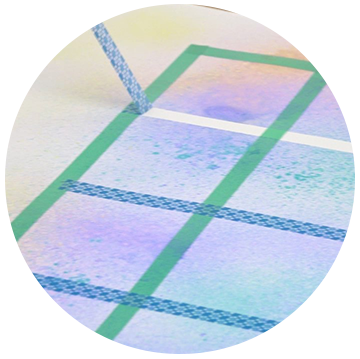
Step 3: Unveil
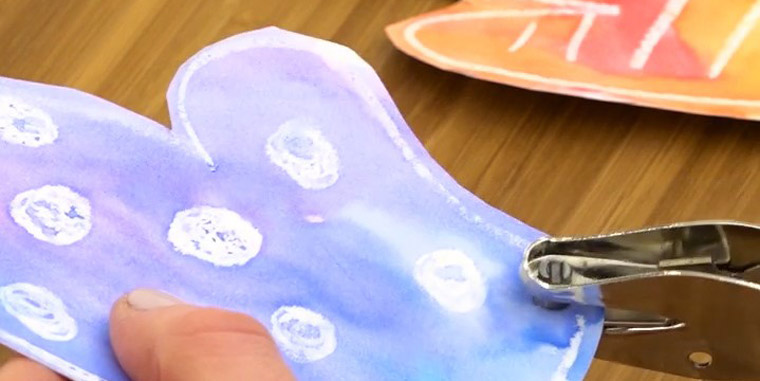
Once the paint is completely dry, carefully remove the washi tape lines to reveal your individual day squares.
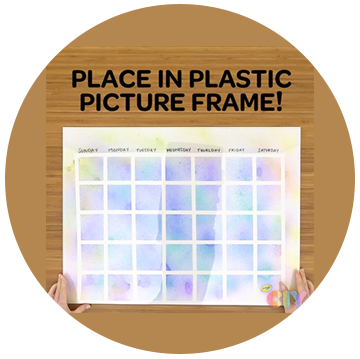
Step 4: Frame it
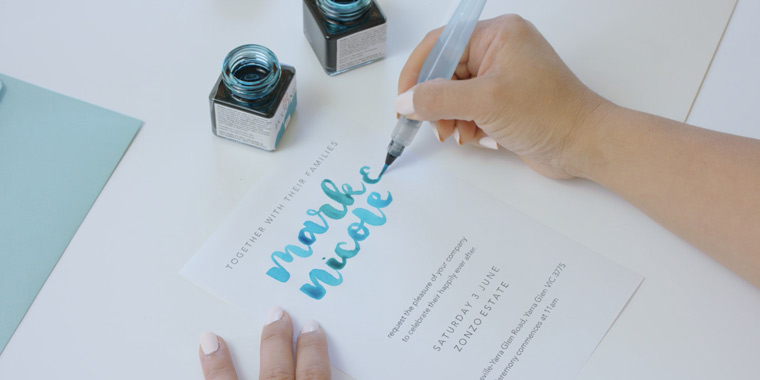
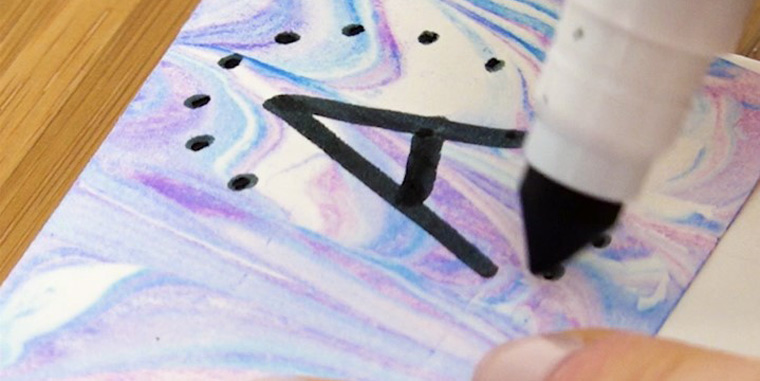
Using a Sharpie pen, write the days of the week across the top of your poster board. Place the board into the frame and place the plastic surface on top. You now have an erasable surface for your calendar
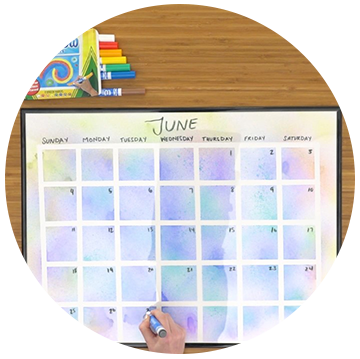
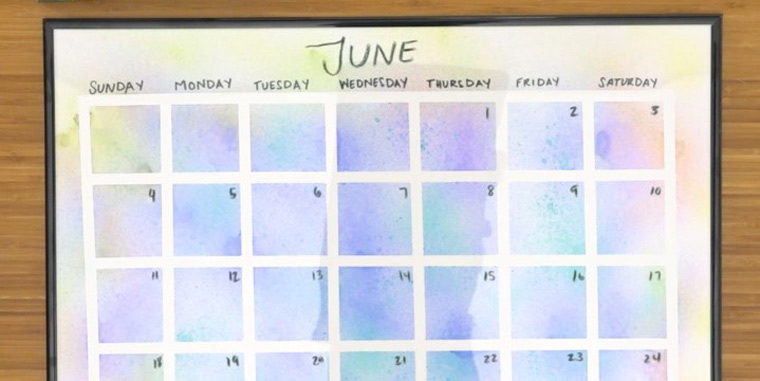
Step 5: Create your calendar
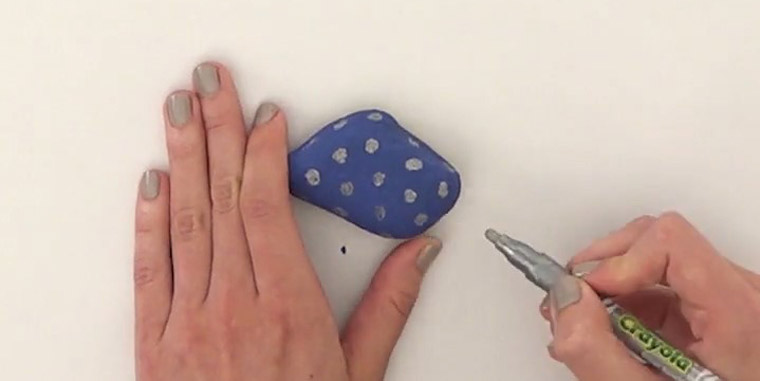
Using the Crayola window markers write the month of the year at the top of the board and fill in the squares with a numeral for each day of the week. Now you can fill in your calendar with all your important dates and events using window markers - then simply erase and start again for next month!